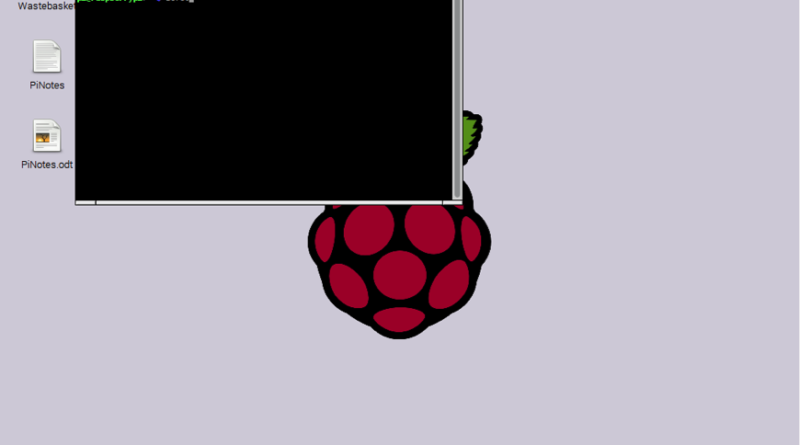
How to Take A Screenshot on a Raspberry Pi
In order to troubleshoot or just share knowledge about anything happening on a computer it is useful to see what is happening. Typically this means getting screen shots or recording the desktop. As with any other computing systems Linux has this ability via a number of simple applications and for most of the OS versions used on the Raspberry Pi it comes preinstalled (or at the very least is only a single command line away).
The most popular screen capture tool is Scrot. You can install it directly from the command line by entering:
sudo apt-get install scrot

Once installed thats it! Now to take a screen capture all you have to do is run scrot from the command line. To do so the location of the saved image must be defined using the "-o" tag, follwed by the file location. By default it will save to the current directory so this:
scrot -o myimage.jpg
will save a file called “myimage” in .jpg format to the current file. From there you can start to configure scrot through a bunch of other useful tasks.
To be able to select the area instead of capturing the whole screen use:
scrot -s testimage.jpg
Delaying the screen shot will also make it easier to hide the terminal or prepare the screen in general. To do so use:
scrot -cd 10 testimage.jpg
This will display a countdown and delay for 10 seconds, then save a file to the working directory called testimage.jpg.
If you always want the images saving to the same file you can alter edit the /.bash_aliases file in your main directory. Drop in a line that says:
alias scrot='scrot ~/home/pi/Screenshots/%b%d::%H%M%S.png'
This will will change scrot to automatically name and output the file using the time stamp of when it was taken.
That is all there is to it. Scrot is a great tool and with the right flags can be used to capture pretty much anything coming out of the display for a Raspberry Pi. Use this the next time you need help troubleshooting, posting to forums, or sharing a project.


Pingback: Simple Raspberry Pi Tasks – New Product Development