
Remote Connect iPhone or Mac to A Raspberry Pi with VNC
The goal of setting up the Raspberry Pi was to be able to start controlling things around the house. I have issues with a lot of the IoT items out there, mostly on the hassle of connecting to wifi or otherwise missing a feature I want, so doing things myself seemed like a good approach. Effectively the $35 board can be used to bring any number of devices online, with a bit of work and a little coding, and the best part is that the pi can run a full OS. That means that troubleshooting is much easier as you can pull up the whole OS and program to make edits. Doing so for a fully wireless, or hard to access device, requires remote operations. SSH is great for command line stuff, but I still prefer a GUI.
That means I need to run a VNC server on the Pi, but in doing so I can access any of my connected Pis from any of my devices. Thankfully the Raspberry Pi documentation for TightVNC is easy to setup and run on the Pi.
Access TightVNC on a Raspberry Pi from another Device
Mac’s have a built in VNC viewer that makes things really easy. Form the main menu of a Mac select “Go>Connect to Server”. This will request the IpAddress of the Raspberry Pi and the port (X) of the VNC display instance.
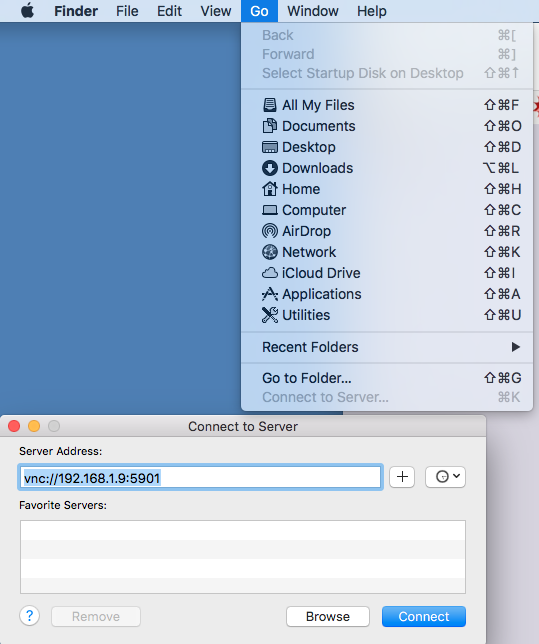
The address of the “server” is ‘vnc://IpAddress:590X‘ or for example vnc://192.168.1.1:5901
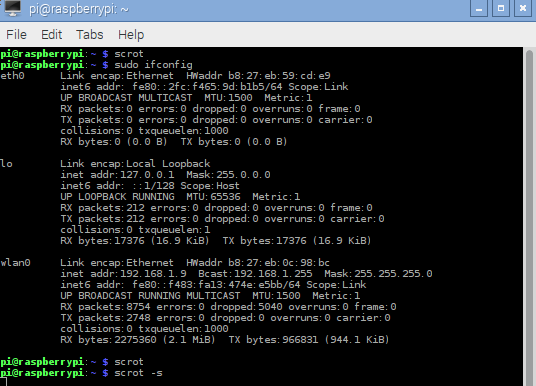
IpAddress should be replaced by the raspberry Pi’s Ip address on your network. Finding the IP address of a Pi is easy, assuming you have terminal access. Just use the command “sudo ifconfig” and it’ll display a bunch of information, including the wlan0 ‘inet addr:’ like this:
X should be replaced by the display instances of the VNC on the Pi. By default when you run ‘TightVNCserver’ it opens at port 1, but 5900 is the base port. If you have multiple instances running this may change to a 2, either way when initially running TightVNC on the pi this will be displayed (assuming you have a monitor setup, just look for the line “New ‘X’ desktop is raspberrypi:X”.

VNC Viewer on iPhone or iPad
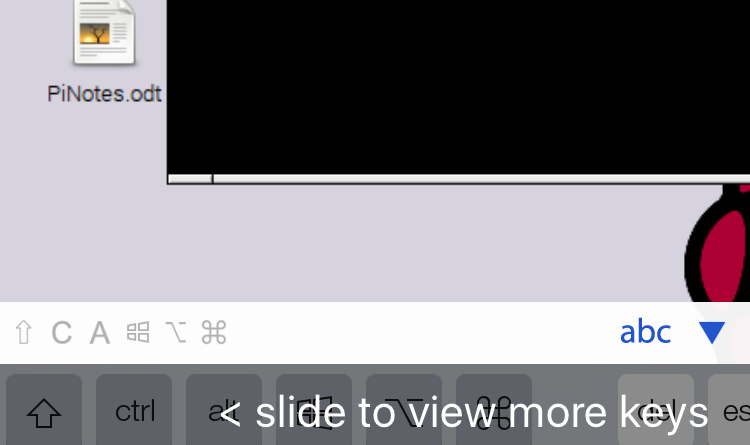
I was also able to get things setup from my iPhone and and iPad. This was especially handy as I wanted to be able to do some editing from bed or the couch, without having to carry the Pi around (risking the battery failure or having to plug it in). Setup was dead simple after downloading the free app for VNC Viewer. I used the same IP settings as above (remember to add the :590X port).
Pingback: Raspberry Pi Camera Control via VNC from an iPhone – New Product Development
Pingback: Solar Powered Wifi Camera for Wearables or Outdoor Installation – New Product Development